Mycosphere Professional Guide
liquid culture (LC): recipe, professional method, and common mistakes to avoid
liquid culture LC) is a key method for quickly inoculating sterile grains, propagating a strain , and achieving consistent results. This guide is intended for advanced hobbyists and professionals/semi-professionals: reliable recipes, sterilization, inoculation, quality control, storage, and the mistakes that ruin a batch.

1) What is a liquid culture LC)?
A liquid culture LC) is a sterile aqueous medium containing a carbon source (assimilable sugars) and sometimes a nitrogen source (peptone, yeast, etc.), in which the mycelium grows in filaments and fragments. The goal is not to “grow mushrooms in water,” but to produce a rapid, homogeneous, and easy-to-distribute inoculum (via syringe or injection port).
LC vs. spores vs. grain: When to use which?
- Spores → agar: isolate/purify a strain spores often carry contaminants).
- Agar → LC: the safest way to start a clean LC.
- LC → sterile grain: the most effective method for producing uniform spawn.
- Grain to grain: fast, but watch out for cascading effects (drift, senescence, latent contaminants).
Rule of thumb: LC is used to inoculate sterile grain (or a new LC), and agar is used to verify sterility.
2) Why DIY LCs Fail (Even When They Look Perfect)
Common causes:
- Excessively rich medium: excess sugar = osmotic stress + advantage for bacteria.
- Inadequate/inconsistent sterilization: unstable pressure, insufficient time, excessive volume.
- Inoculation in an unsuitable environment: opening a jar in a “clean room” = high risk.
- Lack of quality control: “If it looks clear, it must be good” is a common mistake.
- Poorly managed agitation: no oxygenation, compacted masses, uneven sampling.
The most common pitfall: a culture may appear “clean” at first glance, but then contaminate the grain. The pre-production agar test is the number one safeguard.
3) Hardware: Workshop Edition vs. Pro Edition

Serious workshop version (advanced amateur)
- Glass jars (250 ml to 1 L)
- Lids with injection port + filter (gas exchange)
- Pressure cooker/autoclave rated for 15 psi
- Scale (0.1 g recommended), 70% alcohol
- Sterile needles and syringes, scalpel (if using agar)
- SAB (Still Air Box) or, ideally, a laminar flow hood
Pro version (recommended if you read for pleasure regularly)
- Laminar flow hood: improved success rates and greater comfort
- Magnetic stirrer (or sterilizable marbles)
- Routine quality control on agar
Recommended Equipment: Mycosphere

4) Recipes: honey vs. professional recipes

Rule of thumb: At around 2% sugar, growth is generally faster and more vigorous.
At around 4%, the culture becomes less active but remains viable longer for storage.
Above that, osmotic stress increases and contamination becomes more of a problem.
Recipe 1 — Simple & Practical (honey / glucose syrup)
For 1 L:
-
Distilled water: 1000 ml
-
Honey or glucose syrup: 20 g (2%) to 40 g (4% max)
Advantage: simple. Limitation: often cloudier, less reliable detection of contamination, variable performance.
Recipe 2 — Light & Full-Bodied
For 1 L:
-
Distilled water: 1000 ml
-
Light Malt Extract (LME): 10 g
-
Dextrose: 3 g
-
Peptone (a very useful option): 0.2 to 0.5 g
Why it's better: more easily digestible sugars, steady growth, greater clarity, and improved reproducibility.
Recipe 3 — “Balanced” multi-source medium (Karo + LME + peptone)
For 1 L:
-
Distilled water: 1000 ml
-
Glucose syrup (such as Karo): 10–15 ml
-
LME: 5–8 g
-
Peptone: 0.2–0.4 g
Key takeaways
"Robustness" does not stem solely from the diversity of ingredients, but primarily from: cleanliness (agar/QC), controlled dosing, oxygenation, and a clean environment.
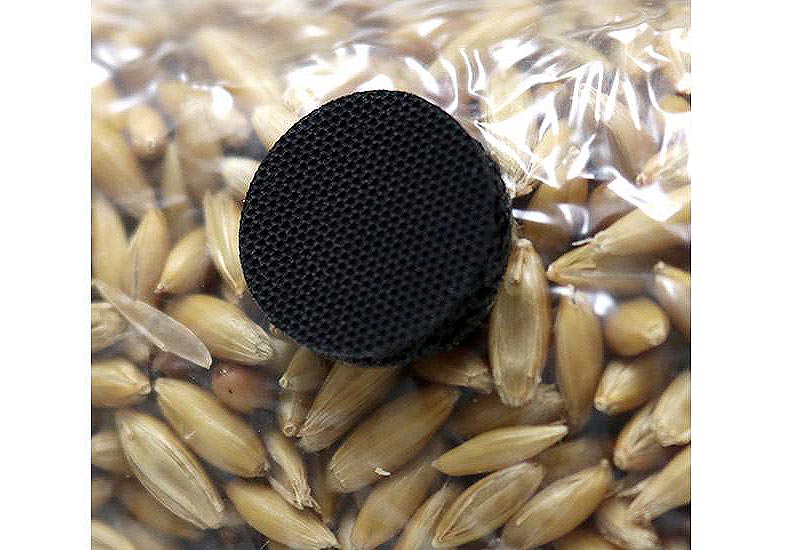
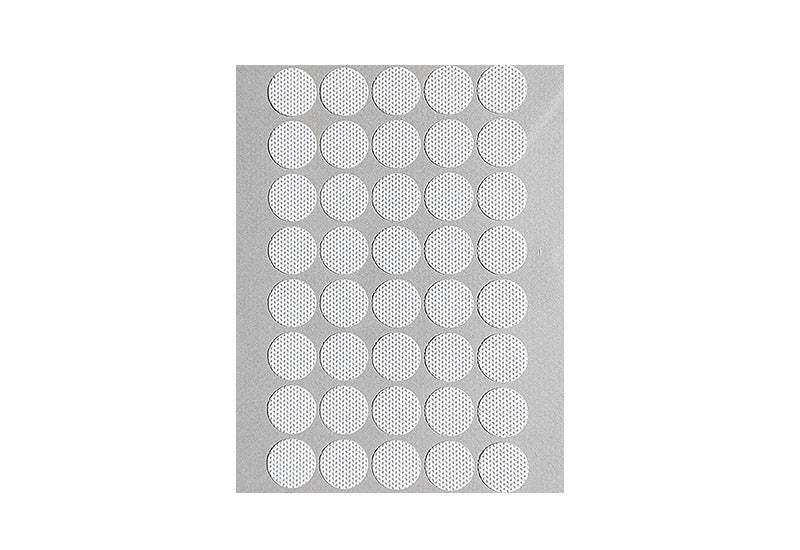
5) Reliable lid: injection port + filter
An LC vial should allow for injection and sample collection without opening, while ensuring filtered gas exchange. Recommended configuration: 1 injection port + 1 hydrophobic filter.
6) Sterilization: the correct parameters

Simple setup (standard)
- 15 psi
- Aluminum on the lid to protect the filter from moisture
- Complete cooling prior to inoculation
Approximate times at 15 psi
| Volume per jar | Recommended time |
|---|---|
| 250 ml | 20–25 min |
| 500 ml | 30–35 min |
| 1 L | 40–45 min |
If you keep failing, extend the duration slightly: the cost of a failed run is always greater than a few extra minutes.

7) Vaccination: methods and professional recommendations
A) Agar wedge
Great if you're working under a fume hood (or in a clean bench). Advantage: you can choose the mycelium. Drawback: you have to open the jar, so there's a higher risk of contamination.
B) liquid culture syringe (recommended for professionals)
Inoculation via the injection port, without opening it: this is the simplest, fastest, and most reproducible method.

The easiest way to start fresh
Use a clean, ready-to-use LC syringe, then apply your quality control sample to agar before producing the spawn.
C) Spores added directly to the culture medium (not recommended for professional use)
Spores can carry contaminants; the culture medium amplifies everything. In the lab: spores → agar → clean transfer.
8) Agitation & oxygenation: boosting performance
Without agitation, the mycelium forms compact masses and does not receive enough oxygen. With controlled agitation, you obtain more uniform fragments, more consistent colonization, and more reliable sampling.
Options
- Magnetic stirrer + stir bar: ideal
- Sterilizable marble/bead: excellent
- Daily manual shaking: acceptable
Tip: Avoid "blender" activity on Day 1. Let the network settle in first.
9) Incubation: temperature, duration, expected signs
| Species (examples) | Reference temperature | Note |
|---|---|---|
| Oyster mushrooms | 22–26°C | Generally fast and forgiving |
| Shiitake | 20–24°C | Often more “calm,” patience |
| Reishi | 24–28°C | Very vigorous, fast-growing |
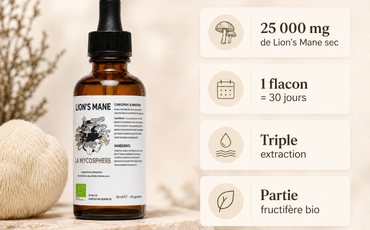
| Lion's Mane | 20–24°C | Mycelium is sometimes thin; stirring is helpful |
Generally, a well-established LC is ready for use in 7 to 14 days (sometimes 2–3 weeks). Expected appearance: generally clear liquid + white mycelium in fine filaments or flakes.
10) Quality Control (QC): The Professional Standard
If you're aiming for professional or semi-professional status, quality control isn't just an option—it's what prevents an "almost clean" batch from contaminating kilos of grain.
QC #1 — Shelf stability (based on a small test batch)
After sterilization, let the uninoculated jars sit for 7 to 14 days. If the liquid becomes cloudy, there is a problem with the sterilization or the seal.
QC #2 — Agar test before spawn production (recommended)
Take 1–2 drops via the injection port, place on agar, and observe for 3–5 days. Clean white = OK. Any suspicious behavior = discard.
11) Contamination: Recognizing & Deciding
Bacteria
- Cloudy/milky liquid, fine sediment, sour/fermented odor (if opened)
- Trap: sometimes subtle in close-up, then a sudden outburst
Mold
- Green spots, dark particles, patches on the wall, non-white growth
Professional rule
If you're unsure, throw it out. A test kit is inexpensive. A contaminated grain wastes time and space and increases the risk of cross-contamination.
12) Aging, Drift, Generations
Repeated expansions (LC → LC → LC…) increase the risk of genetic drift and a decline in vigor. Even without a complex “biobank,” simply limiting the number of generations and labeling the lines makes all the difference.
- Work with a "mother" culture (agar/slant if possible)
- Create "working cultures" for production
- Note the generations: G0, G1, G2…
13) How many liters of liquid are needed to inoculate the grain?
Useful guideline: 5 to 10 ml of LC per 1 kg of sterile grain. Too little = slow germination. Too much = excess moisture, pooling, anaerobic zones, and increased risk of contamination.
Tip: Give the area a good shake or massage after the injection to distribute the solution and prevent fluid buildup.
14) Storage: Shelf Life & Best Practices
- Short-term storage (production): 2–3 weeks with no issues if the LC is in good standing
- Refrigerator: typically 3–6 months (varies by species and density)
- Complete labeling:strain, date, recipe, generation, agar test (date + result)
15) Step-by-step tutorial (professional, reproducible)
Step 1 — Prepare the environment
- Measure out the distilled water.
- Add the nutrients (as recommended in the professional recipe).
- Stir until dissolved (gentle heating is fine).
- Fill the jars, leaving some space at the top.
- Add a magnetic rod or a sterilizable marble.
Step 2 — Close & Secure
- Injection port + hydrophobic filter.
- Aluminum top (filter protection).
- Check that the parts are secure.
Step 3 — Sterilize
- 15 psi, time depending on volume.
- Let it cool completely.
Step 4 — Inoculate (recommended method)
- Disinfect the injection site.
- Use a sterile needle and syringe.
- Add a reasonable amount (e.g., 1–5% of the total volume).
The simplest option: start with a clean liquid culture syringe. See our liquid culture syringes
Step 5 — Incubate & shake
- Incubate at the temperature appropriate for the species.
- Shake gently every day.
Step 6 — Quality Control
- Agar test before inoculating grain (strongly recommended).
- When in doubt, discard it.
16) Why buy an LC syringe instead of making everything yourself?
The key question isn’t “Can I do it?” but “When is it cost-effective?” A clean LC syringe plus a QC test on agar = a quick, reproducible start—and often more economical than a series of trials.
Get off to a clean, quick start
If you're launching a newstrain if you want to make your process more reliable, start with a clean LC.
17) Common mistakes (and how to avoid them)
- Too much sugar: aim for 2% (4% max).
- Sterilization “by feel ”: Standardize pressure, time, and volumes.
- Open the jar outside a clean environment: use a fume hood or clean bench.
- No agar test: it’s your insurance against losing a series.
- Reusing syringes and needles: contamination is almost guaranteed.
- Multiplying LC→LC too many times: manage the generations.
18) FAQ
What is the best liquid culture recipe liquid culture
For a professional approach: LME + a little dextrose + a very small amount of peptone results in vigorous growth that is more consistent and often clearer than using honey alone.
Is honey enough to make a low-carb meal?
Yes, it can work. But it’s more variable, often cloudier, and less “transparent” when it comes to detecting contamination. If you’re aiming for professional or semi-professional use, opt for an LME/dextrose-based recipe.
How long does it take for an LC to be ready?
Generally 7 to 14 days, sometimes 2 to 3 weeks depending on the species, temperature, nutrient levels, and water movement.
How can I tell if my liquid culture contaminated?
Signs: cloudiness, discoloration, dark particles, abnormal behavior. The most reliable test: 1–2 drops on agar, observe for 3–5 days.
How much LC should be used per 1 kg of grain?
Guideline: 5 to 10 ml per kg of sterile grain, taking care to avoid excess moisture and pockets of liquid.
19) Professional checklist (copy and paste)
- Recommended dosage (2% ideal, 4% max)
- Jar with injection port + filter (no opening)
- Sterilization at 15 psi, standardized time
- Inoculation in a clean environment (SAB/fume hood)
- Controlled daily agitation
- Pre-inoculation agar test
- Complete labeling (date, strain, generation, test)
Recommended Equipment: Mycosphere

About the author
He has been working for several years on mycelium cultivation, organic mushrooms, and functional extracts. Through his articles, he shares practical expertise gained from the production, experimentation, and processing of mushrooms.
Discover the Mycosphere